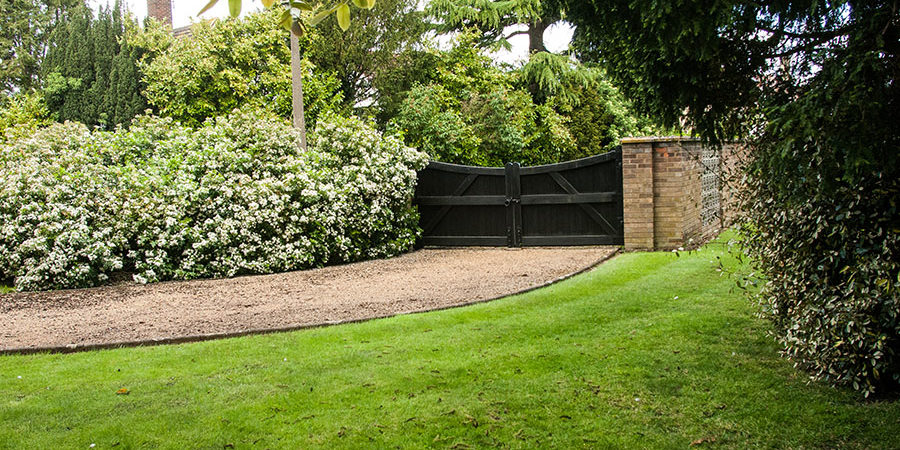
Do you love your gravel driveway but dislike the maintenance involved? From raking to refilling, gravel driveways without edging require a lot of work. With BaseEdge HD Steel edging, you can secure your driveway for years to come!
How does Landscaping Edging Work?
Landscaping edging is commonly used to contain materials in your yard, including grass, gravel, and other loose pavers. Driveway edging is used to provide added support and contain loose driveway paving materials. The edging is placed level with the surface, around the edge of your driveway. Adding edging to your driveway provides extra support, gets rid of the need for maintenance, and adds to the appearance.
Driveway edging adds support because it provides a barrier for loose pavers to expand into under pressure. Pressure from vehicles causes gravel to shift which pushes the pavers to expand out of the driveway area. Although vehicles are more often the cause of driveway expansion, heavy rain storms can move pavers as well. Water can easily wash away gravel at the edge of the driveway, that is not held down.
This can be fixed by adding a small but strong, upright barrier like steel edging. Not only does this add support, it also eliminates maintenance by preventing the need for raking and refilling.
Driveway edging is made from various materials like wood, plastic, and steel. Unlike wood and plastic, steel does not crumble and decay overtime, making it the superior edging option.
Steel edging for your gravel driveway can add to the appearance of your yard. Steel edging adds a sleek finish to your driveway, and gives your yard a defined and organized look. Because it is placed at the surface, steel edging cannot easily be seen and gives the barrier a natural look.
How do I add Landscape Edging to my Driveway?
Installing steel edging is easy, with a few simple steps, you can have a finished driveway in less than a day!
Step 1:
The first step to installing steel driveway edging is to measure the outline of your driveway. You can measure the edges of your driveway simply by using a measuring tape. It is important to measure where you intend to install your edging, so you can order the proper amount.
Step 2:
The next step to installing your driveway edging is to order your desired steel edging. Six-inch edging is standard while eight-inch edging is recommended for high-traffic areas and heavier vehicles.
Step 3:
The third, and most exciting installation step is to install your driveway edging! Steel edging should be installed on the outer edge of your driveway, creating a barrier between the gravel and your yard.
To place your edging, simply hammer it into the ground. It should be roughly 1 to 1.5 inches above the level of the gravel. This prevents gravel from overflowing into the rest of your yard, even in heavy storms.
Step 4:
The final step to installing your driveway edging is to ensure that your edging and gravel are level throughout your driveway. Unlevel edging can cause gravel to overflow in lower areas, which can be problematic.
Unlevel gravel along the edges of your driveway can also lead to overflow in areas with excess gravel. Not only can they cause overflow, unlevel areas can expose edging, creating tripping hazards. To level your driveway, simply distribute the gravel evenly with a rake or shovel.
Because driveway edging does not require concrete, once you have installed and leveled your edging you can drive immediately!
If you don’t know how to install driveway edging or you are ready to install your diy driveway edging but have a few questions, we are here to help! Our team of backyard experts has worked with countless driveway projects. We look forward to helping you create the perfect driveway!
Backyard Bases proudly supplies businesses and homeowners alike with high-quality Base Edge landscaping materials. You can access our FAQ page or contact us directly for further information at (888)897-2224.
