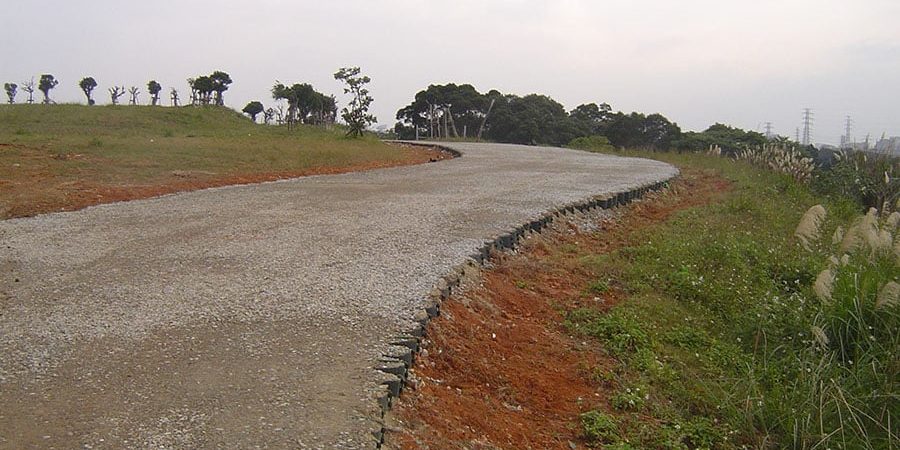
Adding a D.I.Y gravel driveway to your property doesn’t just give you extra space for parking your vehicles, it’s a simple and easy-to-landscape feature that gives instant curb appeal to any home.
And thankfully, you don’t need to be a construction expert to lay a gravel driveway on your own. In just 8 easy steps, you will learn how to build a gravel driveway in your yard and create a stunning addition to your home.
Here’s how it works…
Step 1: Stake Out The Driveway
First, it’s important to have a clear idea of your driveway size before you get started. You can begin by staking out the entire length and width of your gravel drive area using landscaping stakes or twine. Not only will this help you determine how much space you have to work with, but it will also allow you to calculate how much gravel is needed based on the cubic yards of your staked-out driveway.
Step 2: Clear Out Grass And Topsoil
Next, you’ll need to create a completely clear driveway area. This includes removing tree limbs, stumps, bushes, or any underground equipment that could disrupt the gravel surface. To do this, you’ll need a durable rake or shovel, as well as plenty of garbage bags for disposing of yard waste.
Step 3: Level The Ground Area
Once you’ve cleared the space for your gravel driveway, it’s time to ensure that the ground is as level as possible. When you lay a gravel driveway, you will need a few inches of space to add multiple layers of stones. One of the best ways to achieve this is by renting or hiring a company with access to construction leveling equipment.
But if you don’t have the means to seek out professional equipment, you can level the driveway area yourself using your own vehicle. Just be wary of any lingering debris that could damage your tires.
Step 4: Spread A Base Layer Of Gravel
With your space cleared and leveled, you can start the process of laying and compacting your gravel. And no matter what type of gravel you decide to use for your project, it’s crucial that it be as tightly packed as possible.
First, lay your base layer of gravel over the driveway area. You can spread it out thoroughly by using a rake or shovel. Next, you’ll need to compact your layer of stone. The best way to do this is by using a professional compactor. However, you can also compact your gravel by alternating between a handheld compacting tool and low water pressure.
Step 5: Lay Down Geotextile Fabric
In addition to a base layer of gravel, you’ll want to use landscaping fabric to ensure that your gravel driveway stands the test of time. This style of geotextile fabric helps prevent weeds and other unwanted elements from penetrating the surface of your driveway, which can lead to unnecessary maintenance.
Simply lay out your geotextile fabric and secure it in place using extra stones, heavy-duty nails, or landscaping stakes.
Step 6: Install A GeoCell Stabilization Grid
One of the most important features of a gravel driveway is that it provides a stable foundation. And in most cases, soil and stone alone will not be enough to give your parking area the load support that it needs for heavy vehicles. That’s why we recommend using a GeoCell stabilization grid to build a foundation that lasts.
Outside of adding more stability, GeoCell grids help prevent erosion by naturally allowing moisture to flow away from your gravel driveway, so you can be sure that your driveway won’t deteriorate in a wet climate.
And thanks to their interlocking design, you can easily install your GeoCell grids using the step-by-step instructions that come with your order.
Step 7: Add Your Infill Materials
To get the most out of your driveway, you should consider using a base, middle layer, and top layer of gravel. With each new layer of gravel that you add, be sure to use the same compacting methods detailed in step 4. This helps create a firm foundation. And with GeoCell gravel grids, you can use nearly any type of infill material that you feel will work best on your property.
Step 8: Compact The Final Layer Of Gravel
Finally, you can compact the top layer of gravel. Once your stones are set in place, you can enjoy a beautiful new D.I.Y. gravel driveway with minimal maintenance required.
Ready To Build Your D.I.Y Gravel Driveway?
Instaling a gravel driveway doesn’t have to be complicated.
At Backyard Bases, our BaseCore GeoCell gravel grids have been designed to make building your parking area as simple and stress-free as possible, no matter what your skill level or budget looks like.
Learn more about how our team can help you start your D.I.Y gravel driveway project today.
